

Some months ago, I was lucky enough to get a bunch of Raspberry Pi minicomputers from MariaDB Corporation. My idea was to build a Linux cluster where I could show some of the capabilities of MariaDB databases on Docker and Kubernetes. I assembled the cluster and played with Ansible to configure the devices in an automated way—I didn’t want to copy/paste a multitude of commands on each of the 8 devices! I wrote a full tutorial with plenty of photos and detailed instructions on DZone.
In this post, I focus on the commands needed to configure a Kubernetes cluster. I assume you have a set of Raspberry Pi devices running and connected to your local network.
Enable control groups#
Control groups (or cgroups) is a Linux kernel feature that allows to allocate resources, such as CPU and memory, to processes. Kubernetes uses this kernel feature to limit resources for processes. To enable this feature, SSH into your Raspberry Pi and run:
sudo sh -c "echo ' cgroup_enable=memory cgroup_memory=1' >> /boot/cmdline.txt"
Configure the hostname#
To make sure that the hostname is configured correctly, run:
sudo sh -c "echo '$(hostname).local' > /etc/hostname"
Also, configure the locale to avoid problems later:
export LC_ALL=C.UTF-8
export LANG=C.UTF-8  .
echo "LC_ALL=en_US.UTF-8" | sudo tee -a /etc/environment
echo "en_US.UTF-8 UTF-8" | sudo tee -a /etc/locale.gen
echo "LANG=en_US.UTF-8" | sudo tee -a /etc/locale.conf
sudo locale-gen en_US.UTF-8
Reboot the machine now to apply the changes:
sudo reboot
Install Kubernetes#
Since we are using Raspberry Pi devices, it makes sense to use one of the lightweight Kubernetes distributions. I used Ubuntu’s Microk8s here. Another good option is K3s.
Here are the commands required (run them on each device):
sudo apt install -y snapd
sudo snap install core
sudo snap install microk8s --classic
sudo usermod -a -G microk8s pi
sudo chown -f -R pi ~/.kube
Set up the master and leaf nodes#
Once you have installed all the required software in all nodes, you need to pick one node to be the master in the cluster. In the master node, you have to generate a one-time usage token for each leaf node that you want to join the cluster.
SSH into the master node:
Generate a token:
microk8s.add-node --token-ttl 300
Copy the token string and port. SSH into the first leaf node and run:
microk8s.join rpi01.local:25000/TOKEN
Repeat the process (generate token in master + join from leaf node) for each leaf node.
Checking the status#
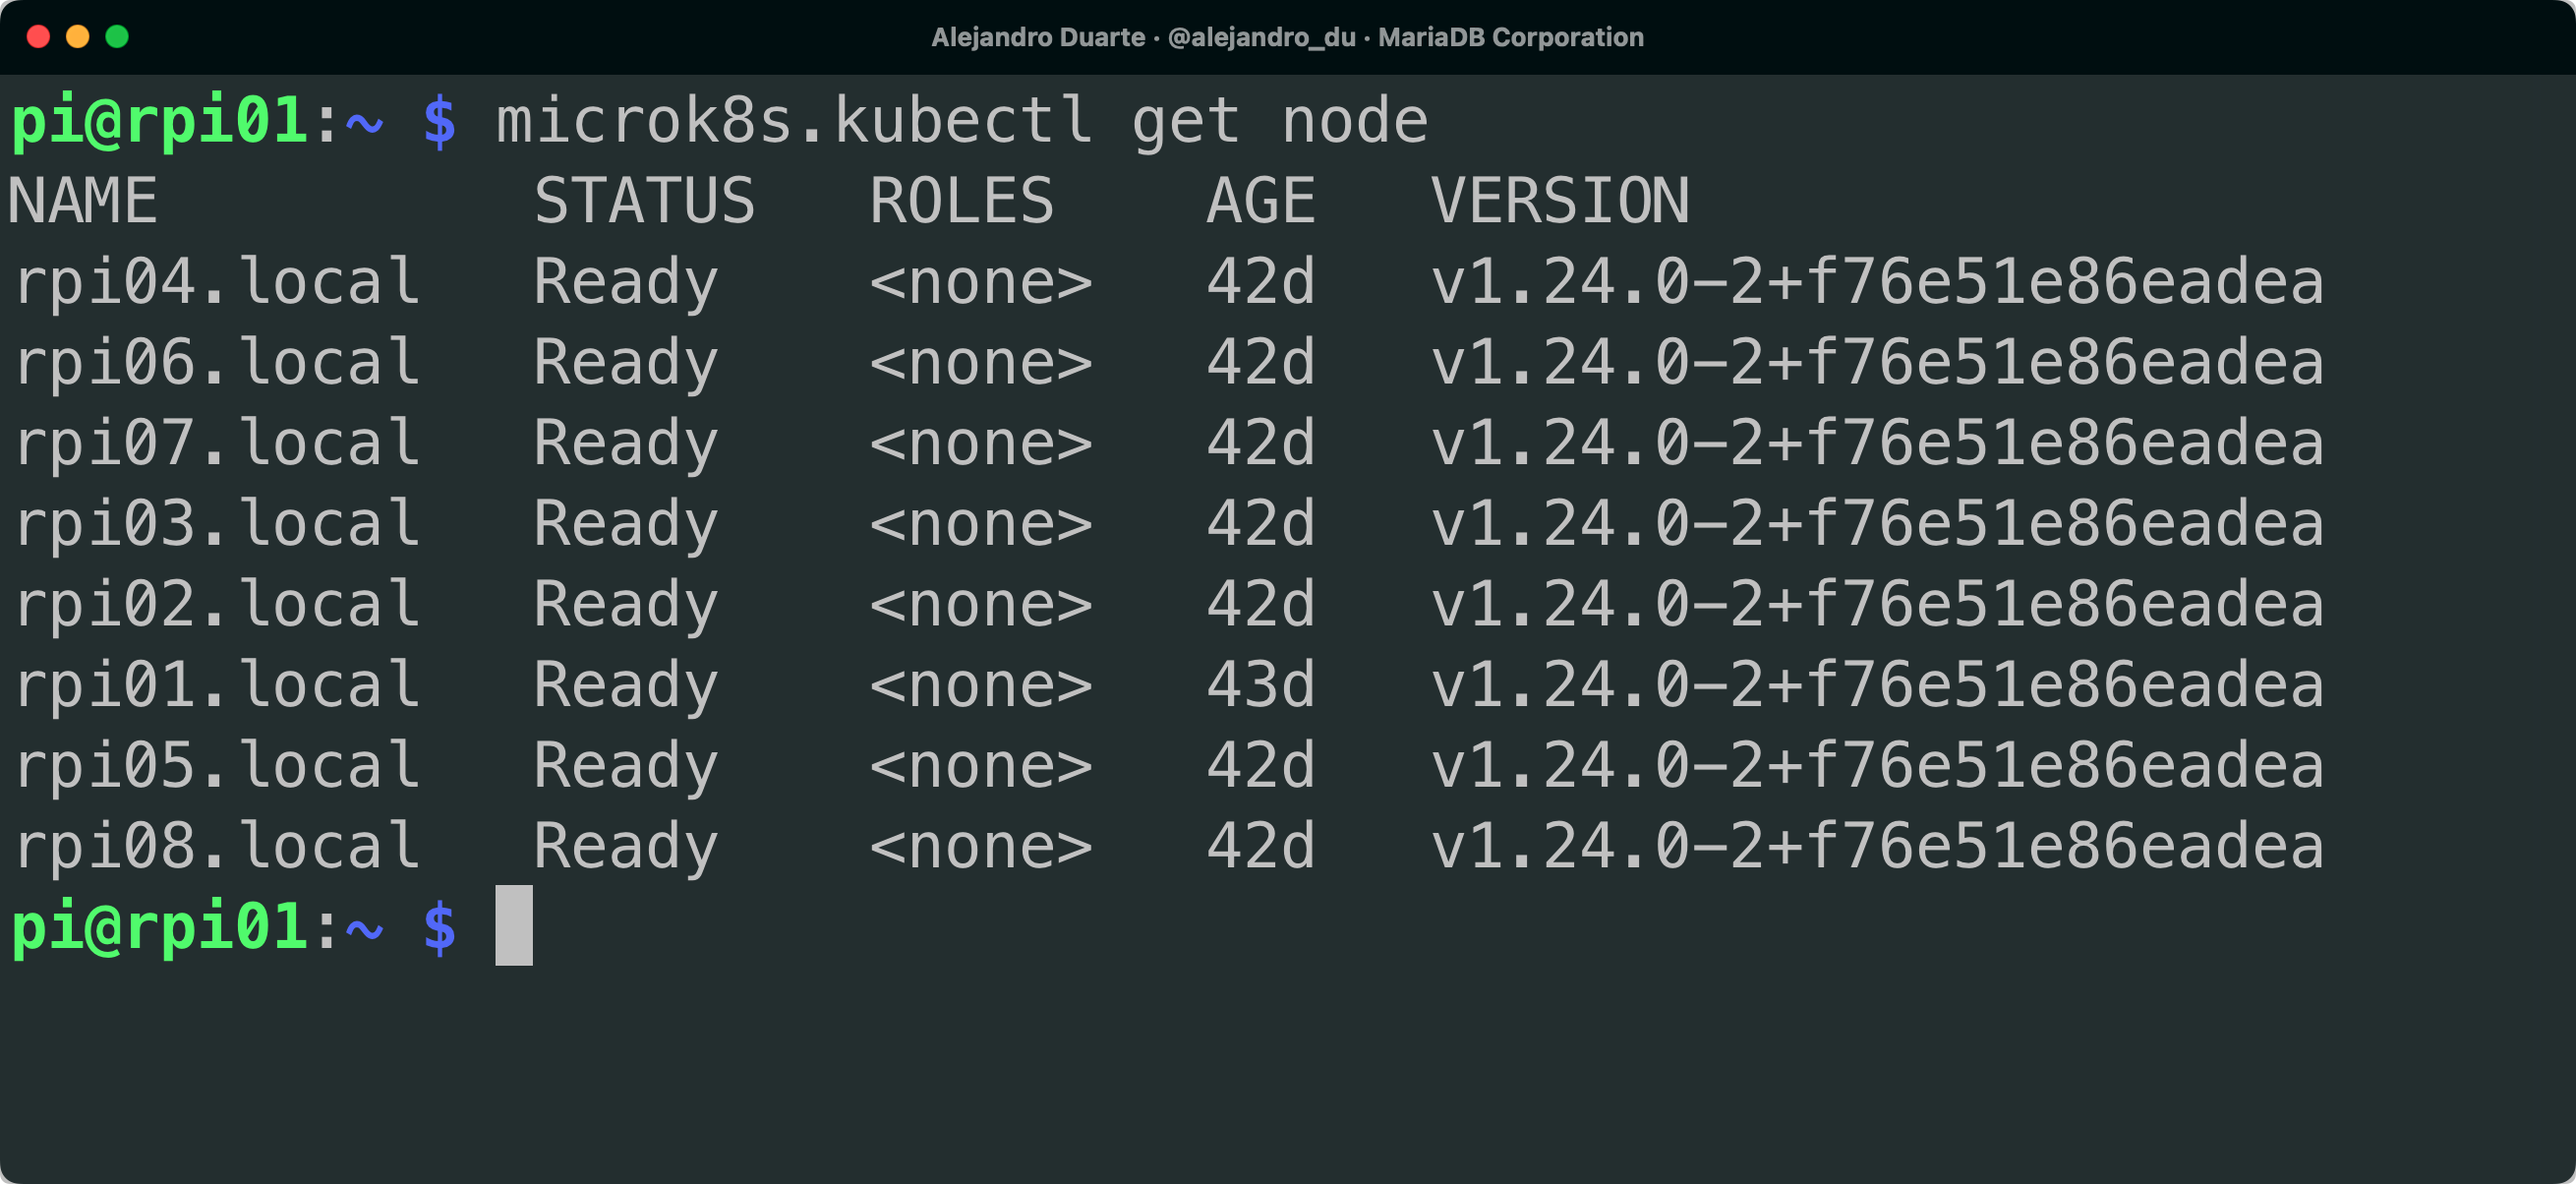
From any of the nodes, you can check the current status of the cluster by running:
microk8s.kubectl get node
You should see a list of all the nodes in the cluster each on the Ready status.
Removing nodes from the cluster#
If at any time you want to remove a node from the cluster SSH to it and run:
microk8s.leave
microk8s remove-node
Automation with Ansible#
You can automate most of these steps using Ansible. I created several Ansible playbooks to configure a Kubernetes cluster on Raspberry Pi without having to manually run the same commands on each device:
- ping.yml: Pings all the machines
- new-cluster.yml: Updates the machines and expands their file system
- shutdown.yml: Shuts down all the machines
- microk8s-prepare.yml: Prepares for Kubernetes (Microk8s) installation
- microk8s-install.yml: Installs Kubernetes (MicroK8s)
- microk8s-master.yml: Generates join tokens in the master node
- microk8s-workers.yml: Makes workers join the cluster
- temperature.yml: Prints the temperature of each machine
You’ll need to create an Ansible inventory like the following:
# Raspberry Pi 8-node cluster
[rpies]
rpi[01:08].local ansible_user=pi

[master]
rpi01.local ansible_user=pi

[workers]
rpi02.local ansible_user=pi token=CHANGE_THIS!!!
rpi03.local ansible_user=pi token=CHANGE_THIS!!!
rpi04.local ansible_user=pi token=CHANGE_THIS!!!
rpi05.local ansible_user=pi token=CHANGE_THIS!!!
rpi06.local ansible_user=pi token=CHANGE_THIS!!!
rpi07.local ansible_user=pi token=CHANGE_THIS!!!
rpi08.local ansible_user=pi token=CHANGE_THIS!!!

[workers:vars]
master=rpi01.local:CHANGE_THIS_AS_WELL!!!
Then run any of the playbooks as follows:
ansible-playbook some-playbook.yml
Since this is meant to be a laboratory-kind of environment for playing around, I disabled host key checking (please use SSH keys in production environments!) and enabled password prompting in the /etc/ansible/ansible.cfg file:
host_key_checking=False
ask_pass=True